
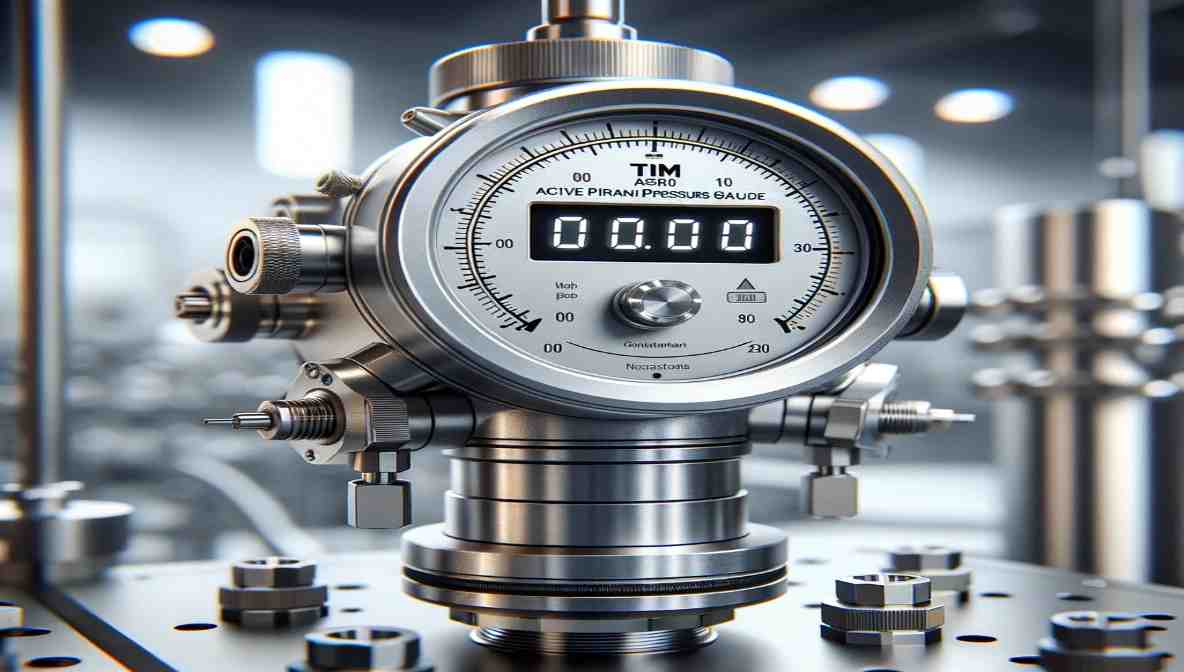
The Tim APG100 is a highly reliable Active Pirani gauge designed for accurate pressure measurement in vacuum systems. It is widely used in industrial and scientific applications where precise vacuum monitoring is essential. The APG100 offers a robust design, easy installation, and seamless integration with BOC Edwards controllers for real-time pressure readings.
The APG100 can be mounted in any orientation. However, the gauge tubes are factory calibrated in millimeters while positioned vertically. To ensure accurate pressure readings when mounted in a different orientation, recalibration at atmospheric pressure is required.
BOC Edwards recommends mounting the gauge vertically to minimize the accumulation of process particulates and condensable vapors within the pump, ensuring long-term reliability and accuracy.
For optimum performance, it is recommended to carry out both atmospheric and zero adjustments before use. Please refer to the Maintenance section for additional guidance.
Table of Contents
ToggleTechnical Data
Mechanical Data
- Mounting Orientation: Any (Vertical recommended for best performance)
- Material Construction: Stainless Steel and High-Quality Aluminum Components
- Flange Compatibility: NW16, NW25, NW10 (with stepped adapter)
- Sealing: O-ring centering ring, or co-Seal required for vacuum integrity
- Weight: Approximately 200g (varies with flange type)
Electrical Data
- Operating Voltage: 15-36 V DC
- Power Consumption: ≤ 1W
- Output Signal: 0-10V Analog Output (Pressure Dependent)
- Interface Compatibility: TIC, ADC Digital Controllers & AGD Analog Display (BOC Edwards)
- Grounding: Secure earth (ground) connection required for electrical safety
Installation and Connection
Connecting the APG100 to Your Vacuum System
- Use an O-ring, centering ring, or Co-Seal to connect an APG100 with an NW16 or NW25 flange to a similar flange on your vacuum system.
- If connecting an NW16 flange to an NW10 flange, use a stepped O-ring adapter or Co-Seal.
- Ensure that the vacuum system has a secure earth (ground) connection and that the gauge tube is electrically connected to the system.
Connecting to a BOC Edwards Controller
The APG100 is compatible with:
- TIC and ADC digital controllers
- AGD analog display from BOC Edwards
These controllers automatically recognize the gauge and display the measured pressure. To connect the APG100 to a BOC Edwards controller, use a cable with suitable connectors. These cables are available from BOC Edwards for easy integration.
Maintenance: Atmosphere and Vacuum Adjustment
Each APG100 gauge is individually calibrated before use. However, over time, thermal conductivity gauges may drift due to contamination buildup on the filament. Regular adjustments help maintain accurate readings.

Atmosphere Adjustment
- Switch on the power supply to the APG100 and let it operate at atmospheric pressure for at least 10 minutes. Ensure the green status LED is illuminated.
- Press the ‘CAL’ button. The status LED will flash, and the gauge will automatically adjust to atmospheric pressure.
- Important: Do not hold the ‘CAL’ button for more than 5 seconds.
Vacuum Adjustment
- Reduce the system pressure to 1 × 10⁻⁴ mbar (or lower) for the APG100-XM or 1 × 10⁴ mbar (or lower) for the APG100-XLC.
- Allow the gauge to operate under vacuum for at least 10 minutes.
- Press the ‘CAL’ button. The status LED will flash, and the gauge will automatically adjust to the vacuum condition.
Remote Adjustment
Atmosphere and vacuum adjustments can also be performed remotely using a switch. Instead of pressing the ‘CAL’ button, momentarily close the remote switch as per the recommended wiring configuration. BOC Edwards controllers utilize this feature for automatic atmospheric and vacuum calibration.
Easy Instructions for APG100 Calibration and Filter Replacement
Atmosphere Adjustment
- Turn on the APG100 power supply.
- At atmospheric pressure, press and hold the ‘CAL’ button for more than 5 seconds. The LED will flash red and green while the gauge adjusts to the new tube. This may take a few seconds.
- Let the gauge run for 10 minutes at atmospheric pressure, then repeat step 2.
- Now, perform the vacuum adjustment as explained earlier.
Replacing the Filter
- Unplug the power cable, release the vacuum, and remove the gauge.
- Use pliers to remove the retaining clip carefully. Do not damage the sealing surface or inside of the gauge.
- Take it out and throw away the old filter.
- Insert a new filter into the gauge tube and secure it with the clip.
Procedure for Returning Equipment to BOC Edwards
Step-by-Step Guide
- Obtain Authorization: Contact BOC Edwards to get a return authorization number for your equipment.
- Complete the Declaration: Fill out the BOC Edwards Equipment Return Declaration form.
- Handle Contaminated Equipment Properly
- If the equipment is contaminated, contact your transporter to classify the hazard correctly.
- Ensure all marking, manifesting, and shipping comply with applicable laws for hazardous materials.
- Some contaminated materials (e.g., semiconductor by-products) may not be suitable for air transport—check with your transporter.
-
Remove Hazardous Gases and Fluids
- Pass inert gas through the equipment and accessories before returning them.
- Drain all fluids and lubricants where possible.
-
Seal the Equipment Properly
- Close all inlets and outlets with blanking flanges or heavy-duty tape for uncontaminated equipment.
- Wrap the equipment in a thick polythene/polyethylene bag or sheet.
- If large, strap the equipment and accessories onto a wooden pallet.
- If small, pack the equipment in a strong, secure box.
-
Send the Declaration
- Fax or post a copy of the Declaration (HS2) to BOC Edwards before shipping.
- Give a copy of the Declaration (HS2) to your transporter, and inform them if the equipment is contaminated.
- Place the original Declaration in a sealed envelope and attach it securely to the equipment package inside a clear, weatherproof bag.
-
Mark the Package Clearly: Write the return authorization number clearly on the envelope or on the equipment package.
Conclusion
The Tim APG100 Active Pirani Gauge is a precise and durable solution for vacuum pressure measurement. With easy installation, wide compatibility, and high accuracy, it is an excellent choice for laboratories, industrial vacuum systems, and scientific research applications.
Here are important FAQs for the Tim APG100 Active Pirani Gauge
1. Can the APG100 be mounted in any orientation?
Yes, the APG100 can be mounted in any orientation. However, the gauge tubes are factory calibrated in millimeters while positioned vertically. For accurate pressure readings in a different orientation, recalibration at atmospheric pressure is recommended.
2. How do I connect the APG100 to my vacuum system?
To connect the APG100:
- Use an O-ring, centering ring, or Co-Seal to attach an NW16 or NW25 flange to a similar flange on the vacuum system.
- For an NW16 to NW10 connection, use a stepped O-ring adapter or Co-Seal.
- Ensure the vacuum system has a secure earth (ground) connection for proper operation.
3. What controllers are compatible with the APG100?
The APG100 is compatible with the following BOC Edwards controllers:
- TIC (Turbo & Instrument Controller)
- ADC (Active Digital Controller)
- AGD (Active Gauge Display—Analog)
These controllers will automatically detect the gauge and display the measured pressure.
4. What is the recommended voltage and power consumption?
- Operating Voltage: 15-36V DC
- Power Consumption: ≤1W
- Ensure proper electrical connection and grounding for safe operation.
5. Why is vertical mounting recommended?
Vertical mounting is recommended because it minimizes the accumulation of process particulates and condensable vapors inside the gauge. This helps maintain long-term accuracy and extends the life of the gauge.